Air valves in irrigation systems

In an industry where flow is an all-important factor, air release valves play a vital role in maximising irrigation pipeline performance.
When installed accurately, air release valves allow for greater flow, while offering full protection against vacuum during the drainage process. This article considers some of the key tips you need to set your valves up for success.
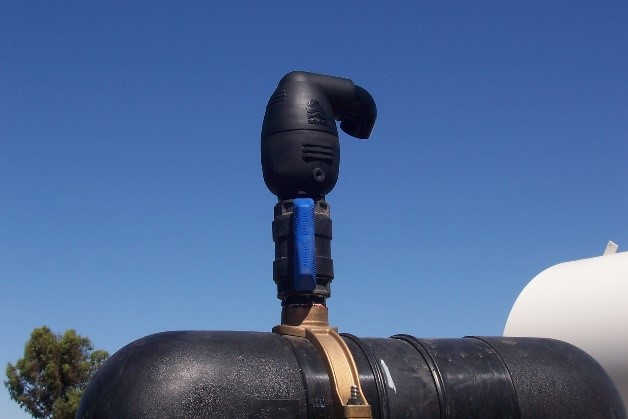
Isolation of an air valve within a pipeline
If an irrigation system is fully pressurised, it requires ongoing servicing and maintenance to ensure it remains functional. It’s important to install an isolation valve prior to installing the air valve itself.
For valves up to and including 50mm, ball or gate valves are often selected as reliable isolation valves. Please ensure that your isolation valve is ‘full port’ as many plastic ball valves may have 50mm connections, but have a free passage size of just 40mm.
Fitting reduced port valves should be avoided, as they can negatively impact air valve performance, especially under drainage of the pipeline.

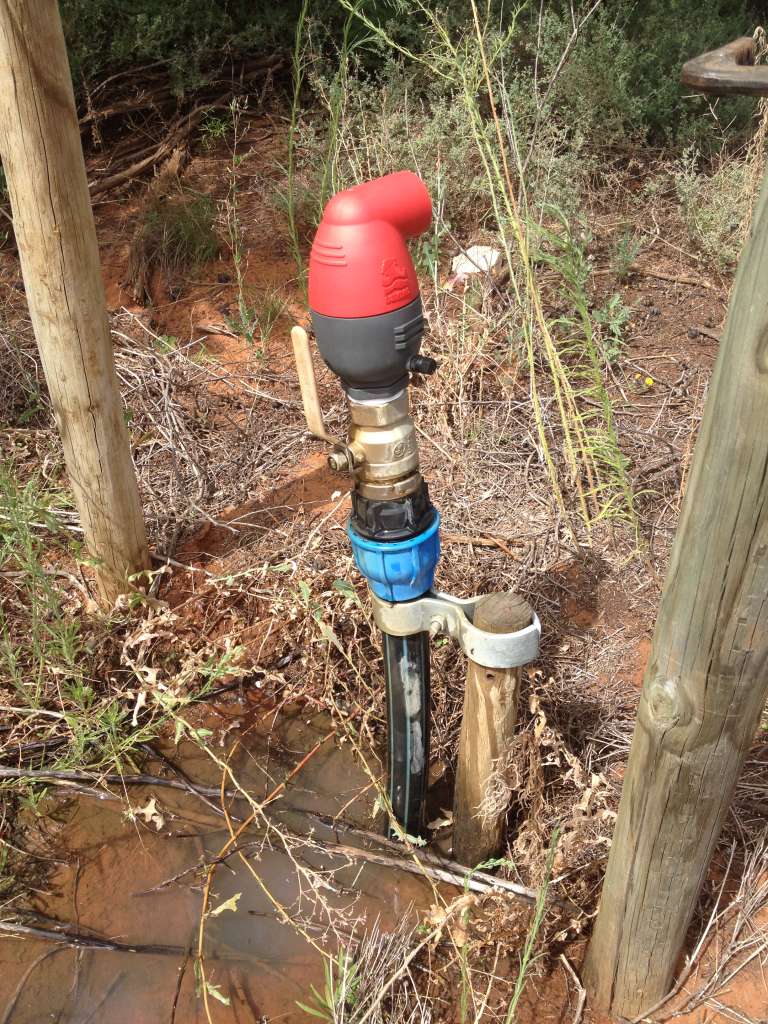
Ensuring the air valve and isolation valve is vertical
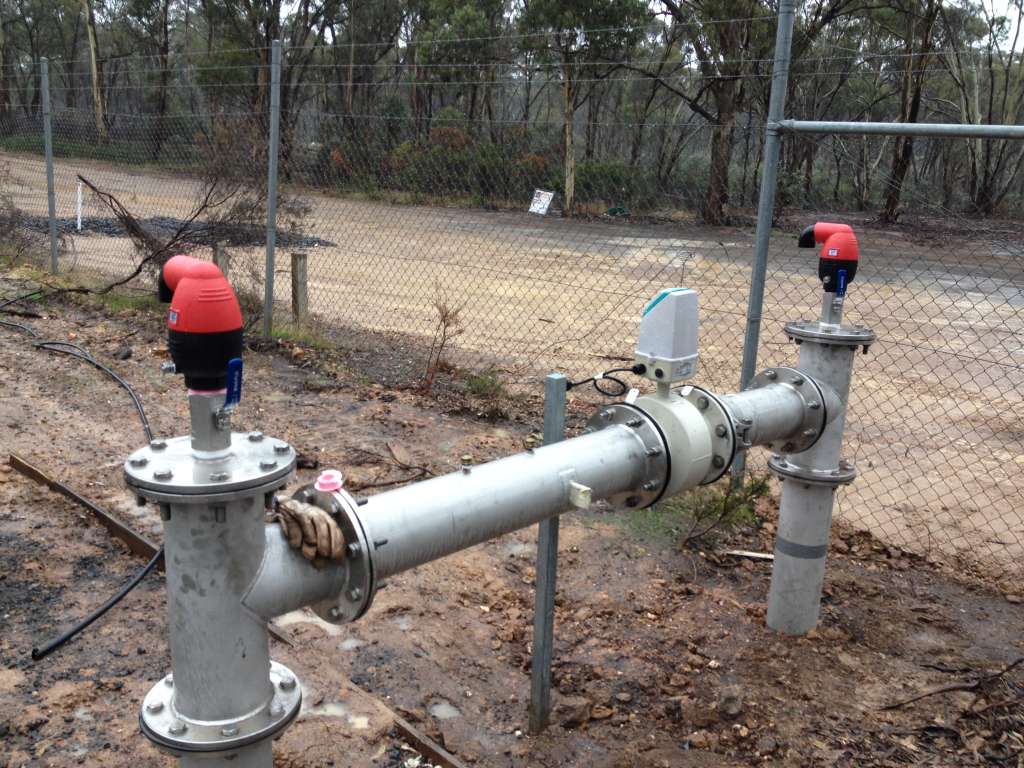
It is important that any air valve being installed to any part of an irrigation pipeline is installed vertically. Valves operate at their best within 5 degrees from a vertical position. If valves are installed on a different angle, it can impact the float’s performance and problems could occur.

A simple way to keep the pipe and valve combination vertical, is to strap the riser to a fence post or star picket to avoid it changing positions.
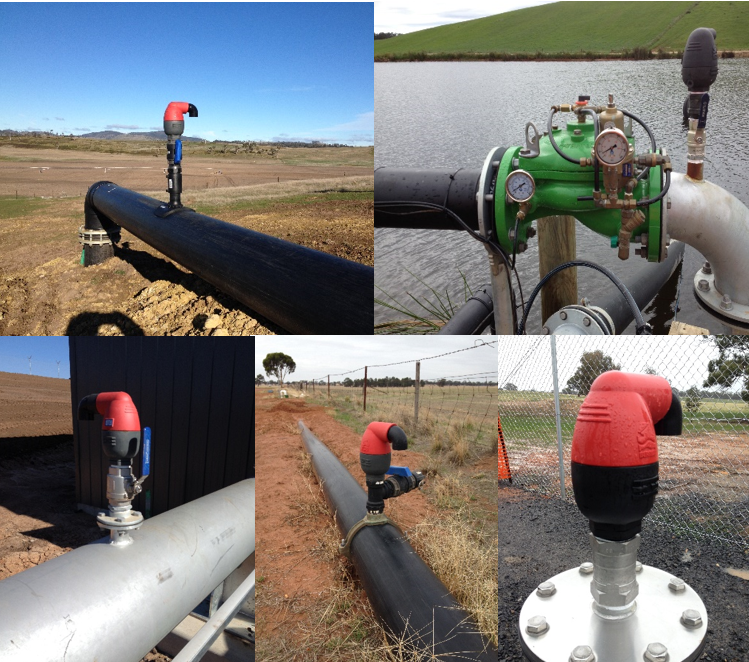
Connecting the air valve and riser to the pipeline
If you are installing an air valve with a riser off the pipeline, the pipe material should have an internal diameter equal to or greater than the orifice of the air valve. This is to ensure the best air flow performance of the air valve itself. The actual connection to the pipe depends largely on the pipe material.
Typical methods include:
- Welding threaded sockets onto the top of the pipe
- Fitting a tapping saddle or repair clamp around the pipe
- Installing a tee
- Welding a socket onto steel pipe

There’s a variety of different methods you can utilise when connecting the air release valve to your pipeline.
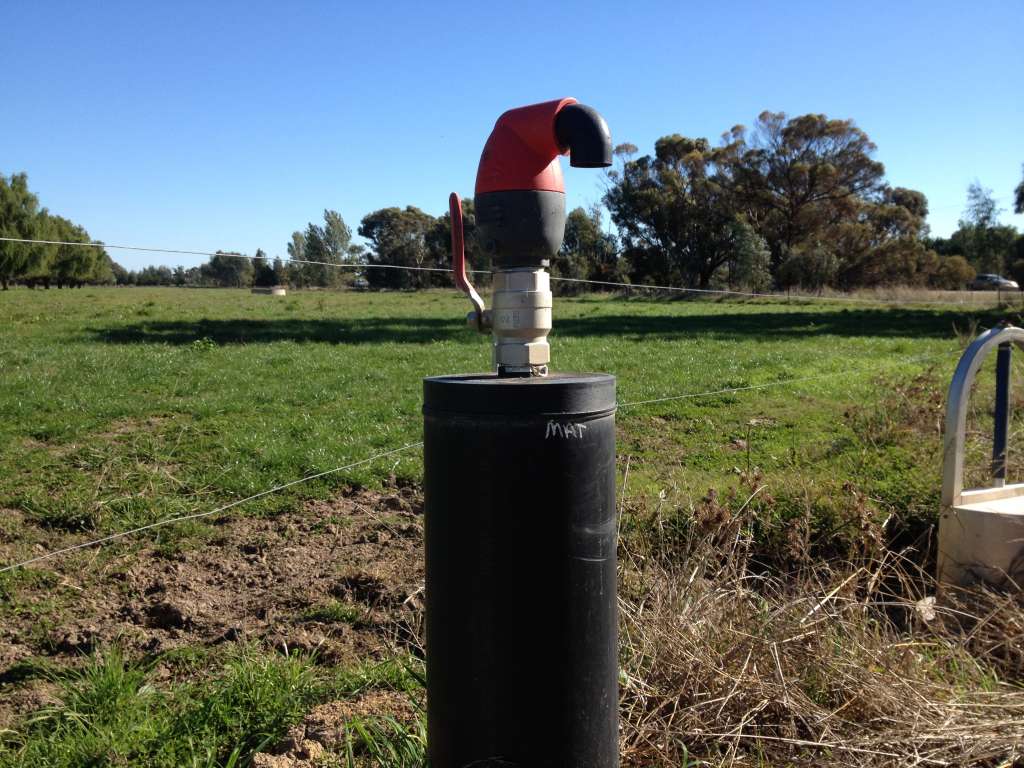
Fitting a collection chamber to trap air
In irrigation systems or pipelines that fill and drain often, the function of the air valve becomes critical to ensure that the air is captured in the largest area possible.
A similar sized tee or a larger riser of 2-3 times the area of the valve should be used to capture the air off the pipeline. Allowing for greater space has proven to work extremely well in enabling high system performance.

Installing an air valve alongside bends or elbows
Air is often entrapped within pipeline bends or elbows. For this reason, it is considered best practice to install the air valve as close to the elbow as possible, as it is a likely source of entrapped air. If this is not practical within your pipeline, a secondary option is to install a tee instead of a bend. This ensures that all air will enter the tee, and shift into the air valve.
We’re here to help
We hope that these installation tips and visuals can help improve the efficiency of your irrigation system. If you have any further questions, or wish to discuss any technical aspect of your air valve installations, do not hesitate to contact your local Bermad technical engineer.
You can also learn more about the benefits of air release valves by visiting our Youtube Channel, or by taking a look at the data showcased on our online product pages.
Make enquiry
Online Enquiry Close


In an industry where flow is an all-important factor, air release valves play a vital role in maximising irrigation pipeline performance.
When installed accurately, air release valves allow for greater flow, while offering full protection against vacuum during the drainage process. This article considers some of the key tips you need to set your valves up for success.
Isolation of an air valve within a pipeline
If an irrigation system is fully pressurised, it requires ongoing servicing and maintenance to ensure it remains functional. It’s important to install an isolation valve prior to installing the air valve itself.
For valves up to and including 50mm, ball or gate valves are often selected as reliable isolation valves. Please ensure that your isolation valve is ‘full port’ as many plastic ball valves may have 50mm connections, but have a free passage size of just 40mm.
Fitting reduced port valves should be avoided, as they can negatively impact air valve performance, especially under drainage of the pipeline.
Ensuring the air valve and isolation valve is vertical
It is important that any air valve being installed to any part of an irrigation pipeline is installed vertically. Valves operate at their best within 5 degrees from a vertical position. If valves are installed on a different angle, it can impact the float’s performance and problems could occur.
A simple way to keep the pipe and valve combination vertical, is to strap the riser to a fence post or star picket to avoid it changing positions.
Connecting the air valve and riser to the pipeline
If you are installing an air valve with a riser off the pipeline, the pipe material should have an internal diameter equal to or greater than the orifice of the air valve. This is to ensure the best air flow performance of the air valve itself. The actual connection to the pipe depends largely on the pipe material.
Typical methods include:
- Welding threaded sockets onto the top of the pipe
- Fitting a tapping saddle or repair clamp around the pipe
- Installing a tee
- Welding a socket onto steel pipe
There’s a variety of different methods you can utilise when connecting the air release valve to your pipeline.
Fitting a collection chamber to trap air
In irrigation systems or pipelines that fill and drain often, the function of the air valve becomes critical to ensure that the air is captured in the largest area possible.
A similar sized tee or a larger riser of 2-3 times the area of the valve should be used to capture the air off the pipeline. Allowing for greater space has proven to work extremely well in enabling high system performance.
Installing an air valve alongside bends or elbows
Air is often entrapped within pipeline bends or elbows. For this reason, it is considered best practice to install the air valve as close to the elbow as possible, as it is a likely source of entrapped air. If this is not practical within your pipeline, a secondary option is to install a tee instead of a bend. This ensures that all air will enter the tee, and shift into the air valve.
We’re here to help
We hope that these installation tips and visuals can help improve the efficiency of your irrigation system. If you have any further questions, or wish to discuss any technical aspect of your air valve installations, do not hesitate to contact your local Bermad technical engineer.
You can also learn more about the benefits of air release valves by visiting our Youtube Channel, or by taking a look at the data showcased on our online product pages.
Make enquiry

